
How to Install Asterisk 16 LTS Core on Centos 8?
Asterisk is a powerful, popular, and opensource digital PBX system. It is bundled with free PBX application or software. Which means free PBX is installed or configured on the top of the asterisk. All the functions are asterisk function but free PBX is only the GUI interface for the users.
This is a step by step guide to install asterisk 16 LTS (core, without free PBX) on centos 8 core.
Change your systems host-name to “asterisk” and update the system to the latest security patch and upgrades. By default, Centos host-name is localhost.localdomain.
$ sudo hostnamectl set-hostname asterisk
$ sudo dnf update -y
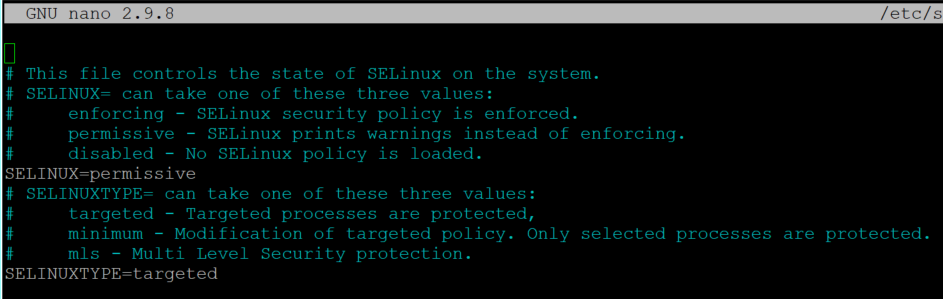
Set SELinux policy from enforcing to the permissive mode by running command and editing the SELinux configuration file.
$ sudo setenforce 0
$ sudo nano /etc/selinux/conf
Next step, We need to add the EPEL repository on the centos. The command below will download the epel repo and enable it.
$ sudo dnf install https://dl.fedoraproject.org/pub/epel/epel-release-latest-8.noarch.rNext
The next step is to enable the PowerTools repository. EPEL is packages depend on the packages from it.
$ sudo config-manager –set-enabled PowerTools
Confirm or verify that the EPEL repository is added and it is functioning correctly by executing the flowing command. And command output will look as below.
[boredadmin@asterisk ~]$ sudo dnf repolist epel
repo id repo name
epel Extra Packages for Enterprise Linux 8 – x86_64
We have successfully installed, enabled, and verified the EPEL repository in CentOS 8.
In the next step, we will install Development Tools and other dependencies packages that are required for building and running the Asterisk core on CentOS 8. It will take a couple of minutes.
$ sudo dnf group install -y “Development Tools”
$ sudo dnf install -y git wget openssl-devel sqlite-devel psmisc ncurses-devel libtermcap-devel newt-devel libxml2-devel libtiff-devel gtk2-devel libtool libuuid-devel subversion kernel-devel kernel-devel-$(uname -r) crontabs cronie-anacron
In this step, we will download and install PJSIP. It is a popular, free, and open-source multimedia library. It implements standard-based protocols like- SDP, SIP, TURN, RTP, ICE, TURN, and STUN.
Navigate to the src directory, download or clone the PJSIP package, enter the package directory “pjproject“. Configure and install the package.
$ cd /usr/src/
$ git clone https://github.com/pjsip/pjproject.git
$ cd pjproject
$ sudo ./configure CFLAGS=”-DNDEBUG -DPJ_HAS_IPV6=1″ –prefix=/usr –libdir=/usr/lib64 –enable-shared –disable-video –disable-sound –disable-opencore-amr
$ sudo make dep
$ sudo make
$ sudo make install
$ sudo ldconfi
In this step, we will download and install JANSSON. It is a library for encoding, decoding, and manipulating the JASON data.
Steps are same as above, Navigate to the src directory, download or clone the JANSSON package, enter the package directory “Jansson“. Configure and install the package.
$ cd /usr/src/
$ sudo git clone https://github.com/akheron/jansson.git
$ cd jansson
$ sudo autoreconf -i
$ sudo ./configure –prefix=/usr/
$ sudo make && make install
So, We have finished the installation and configuration of dependencies and packages for the asterisk. We are ready to install and configure the Asterisk core (16.xx) on centos 8.
Navigate to the src directory, download asterisk package. Extract package to the src directory. navigate to the asterisk directory and install and configure it. That’s all. 😀
$ cd /usr/src/
$ sudo wget http://downloads.asterisk.org/pub/telephony/asterisk/asterisk-16-current.tar.gz
$ sudo tar xvfz asterisk-16-current.tar.gz
$ sudo rm -f asterisk-16-current.tar.gz
$ cd asterisk-16*/
Before start to install and configure the asterisk, we need to install two libedit packages. These packages should be installed in order. And both packages should be installed inside the /usr/src/asterisk* directory
$ sudo dnf install -y ftp://ftp.pbone.net/mirror/archive.fedoraproject.org/fedora/linux/releases/29/Workstation/x86_64/os/Packages/l/libedit-3.1-24.20170329cvs.fc29.x86_64.rpm
$ sudo dnf install -y ftp://ftp.pbone.net/mirror/archive.fedoraproject.org/fedora/linux/releases/29/Everything/x86_64/os/Packages/l/libedit-devel-3.1-24.20170329cvs.fc29.x86_64.rpm
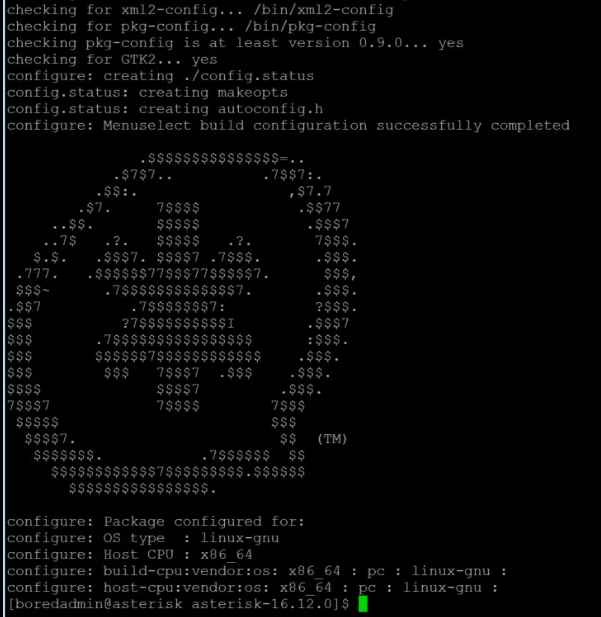
Now it is time to configure the asterisk.
$ sudo ./configure –libdir=/usr/lib64
If the configuration is successful. you will see the image as below.
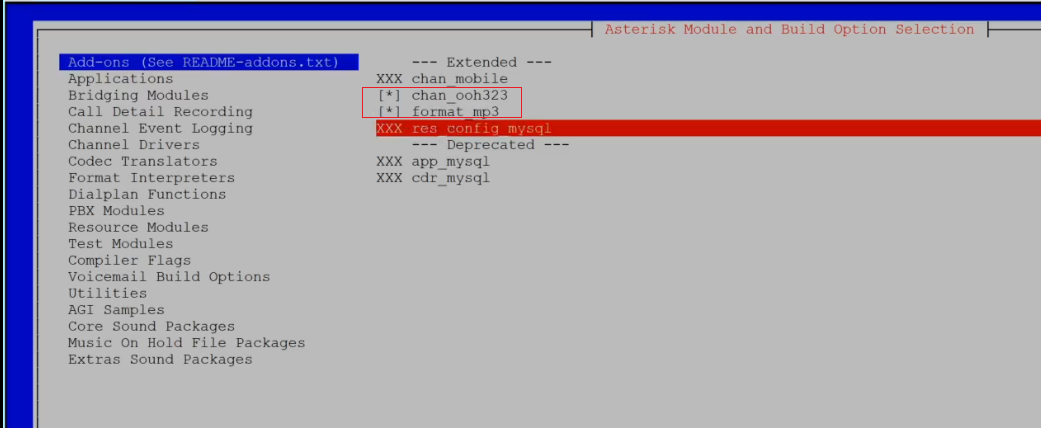
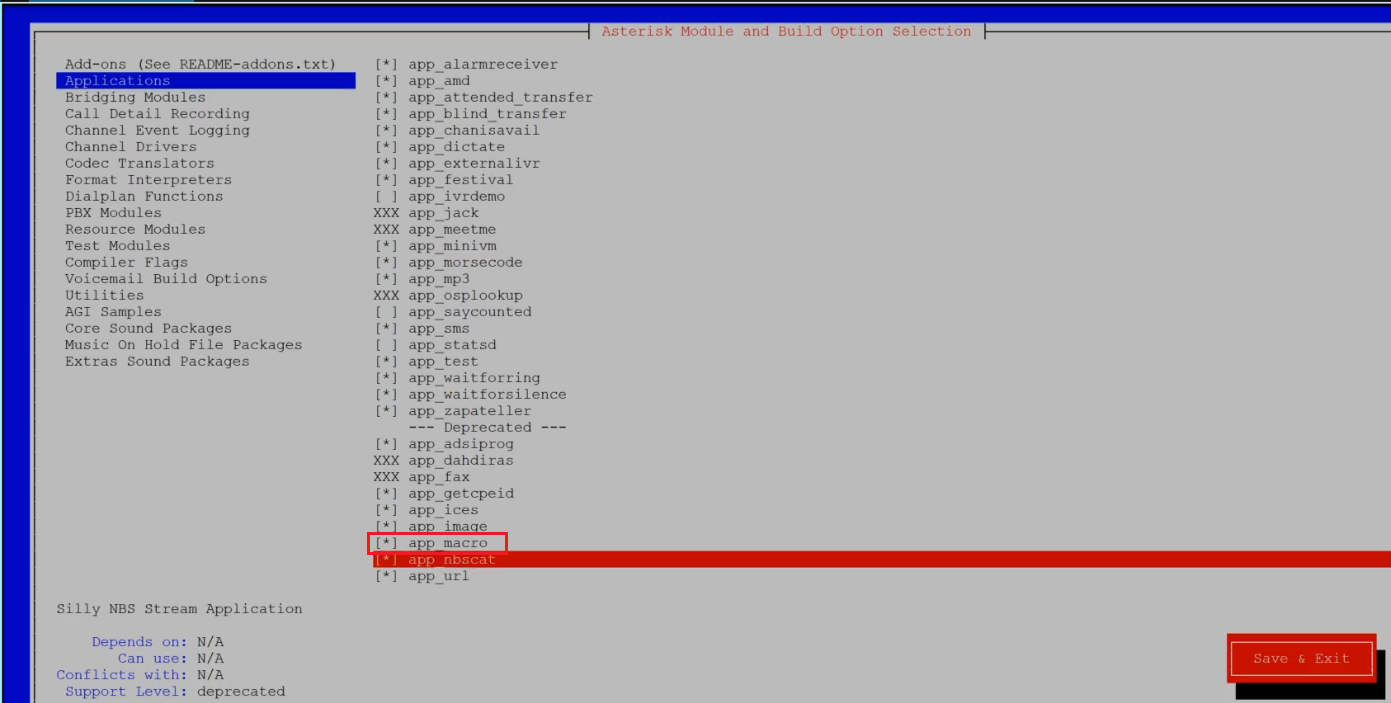
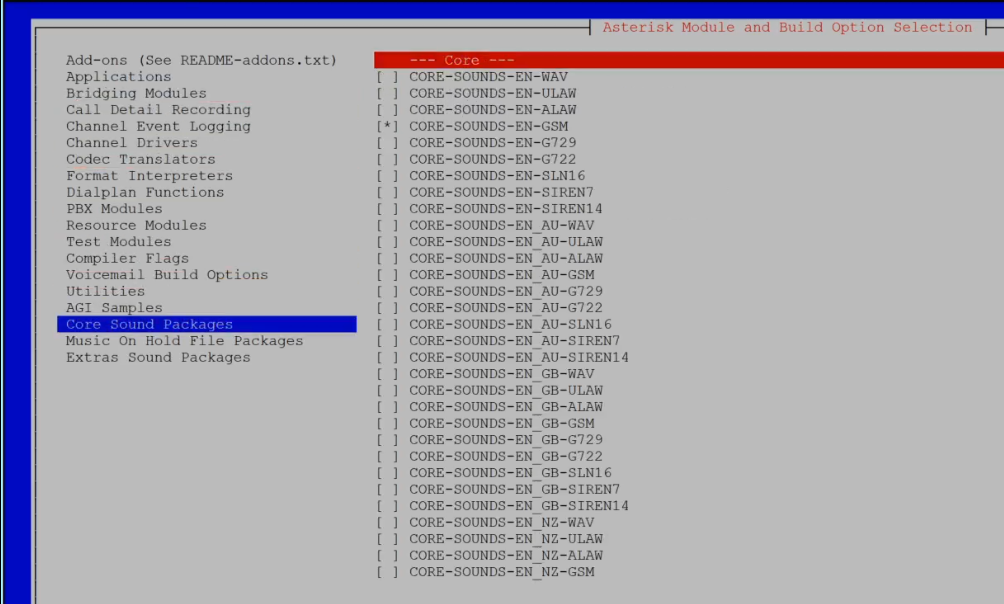
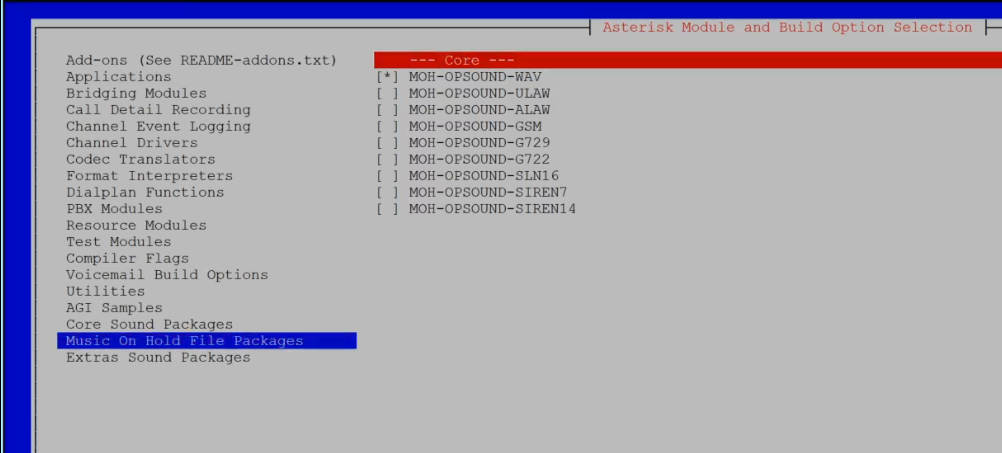
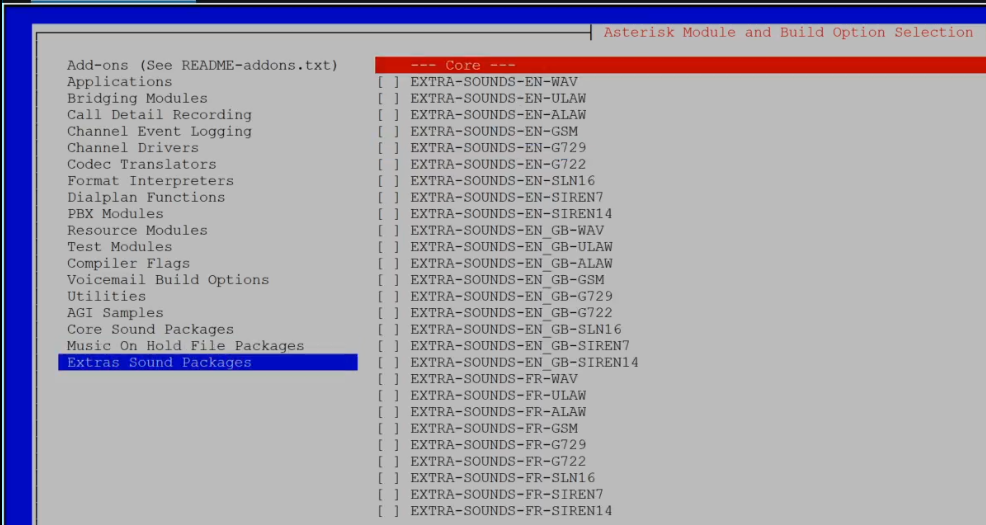
In this step, we will configure the menu options. use arrow keys to navigate and enter keys to select.
Under the add-ons menu, select chan_ooh323 and format_mp3. select other options and features depend on your requirements.
$ sudo make menuselect
All the required components are installed and configured. Now time to build and install asterisk on centos 8.
In the first command, we will configure the mp3 decoder library to the source tree. then we will build and install asterisk.
And please remember that you should run these commands from inside the /usr/src/asterisk*/ directory on centos 8.
$ sudo contrib/scripts/get_mp3_source.sh
$ sudo make
$ sudo make install
$ sudo make samples
$ sudo make basic-pbx
$ sudo make config
$ sudo ldconfig
In this step, we will create the user and group on centos 8 for the asterisk service.
$ sudo groupadd asterisk
$ sudo useradd -r -d /var/lib/asterisk -g asterisk asterisk
We need to assign or grant required permission to the directory to the above created user and group.
$ sudo usermod -aG audio,dialout asterisk
$ sudo chown -R asterisk.asterisk /etc/asterisk /var/{lib,log,spool}/asterisk /usr/lib64/asterisk
Change or set default asterisk user to Asterisk. Open asterisk file and un-comment the AST_USER=”asterisk” and AST_GROUP “asterisk”, if you are unable to find it add those lines to the configuration file. save and exit.
$ sudo nano /etc/sysconfig/asterisk

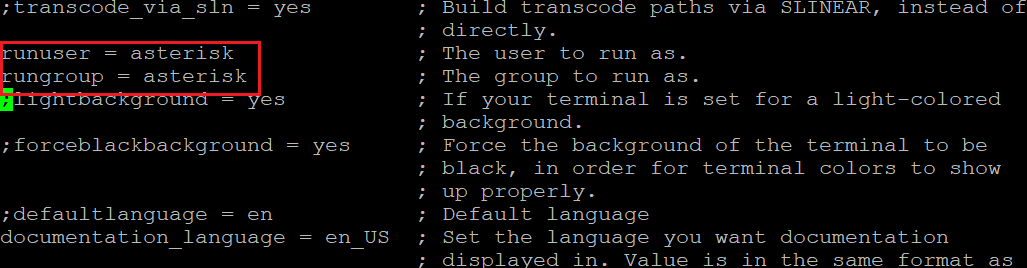
Open asterisk.conf file and un-comment the runuser and rungroup line and make sure that the users and groups are the some which you created above. save and exit.
$ sudo nano /etc/asterisk/asterisk.conf
The configuration is finished.
Enable asterisk service, it will help to automatically start asterisk service after a restart or reboot the system.
Start the asterisk service for the first time.
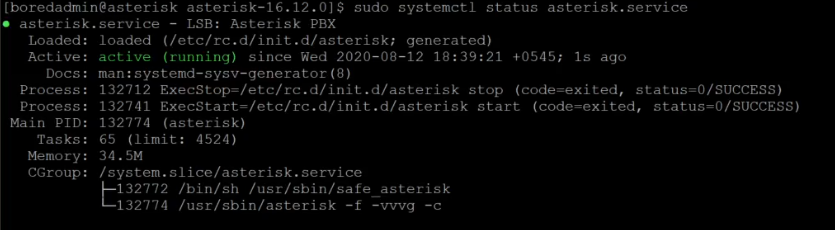
Check asterisk status.
$ sudo systemctl enable asterisk
$ sudo systemctl start asterisk. service
$ sudo systemctl status asterisk.service
At the last of this post. Let’s check that if we are able to connect to the asterisk or not?
To check, two commands.
The first command is asterisk -rvv (to connect to the asterisk)
and the second command is core show channels

Congrats to US! We have just installed and configured the Asterisk core 16-* on CentOS 8 successfully.
Please leave the comment below.