
SSRS (SQL Server Reporting Service) integration on SharePoint 2019.
Part 2
SharePoint 2019 SSRS Integration Part 1
Officially SSRS Integrated mode is deprecated in SQL Server 2017 and SharePoint 2019, Now It is not a part of the SQL Server 2017. However, organizations could continue to use SSRS versions 2017 in SharePoint 2019. This is not supported in SharePoint 2019, which means that integrated mode isn’t an option at all with SharePoint 2019.
But the good news is, there is some workaround to integrate SSRS 2017 with SharePoint 20149 using the report viewer web part.
In the first part of this topic, We have installed and configured the SSRS 2017 (SQL server reporting service). In this part, we will configure Data Source for SharePoint 2019, Create data set and generate the reports from the data set.
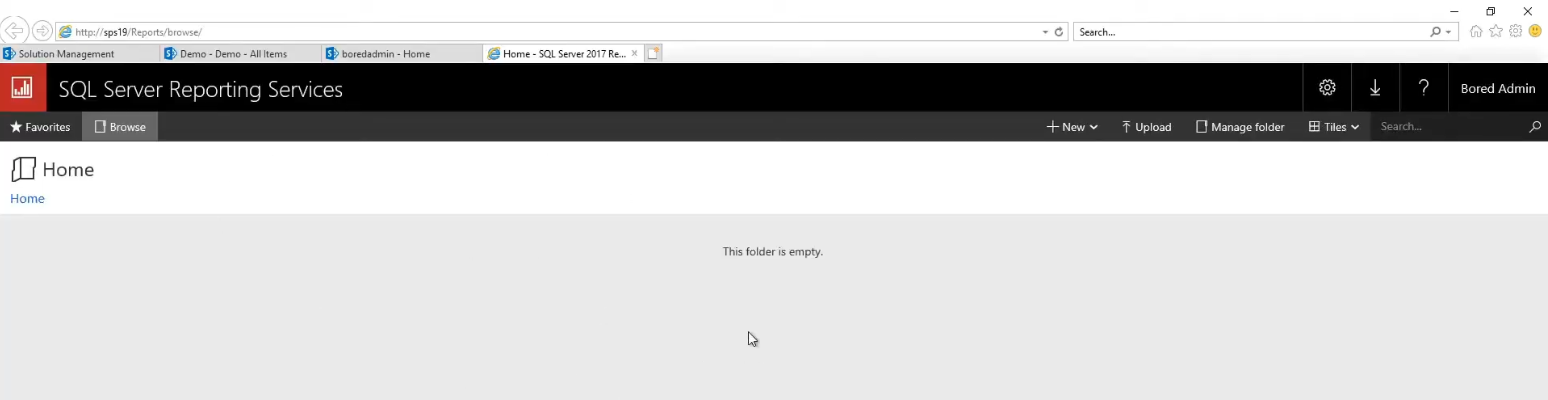

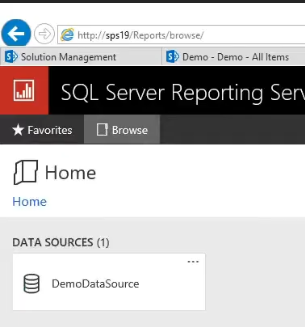
After the successful installation and configuration of the SSRS 2017. you can browse or access the Web Service URL and Web Portal URL.
Currently, both are blank or empty. In the next steps, we will configure and generate the data source, data set, and reports.
In the first step, we will create the Data Source. login to http://systemname or IP/Reports.
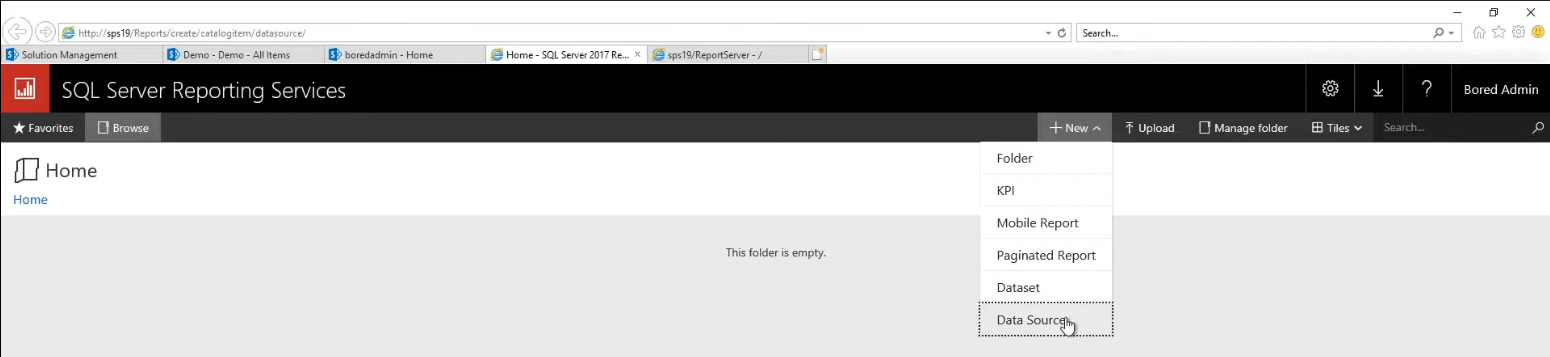
Click on New and select Data Source.
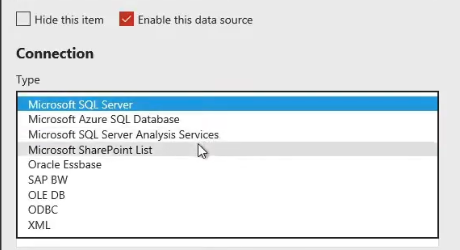
In connection type, Select Microsoft SharePoint List. We are configuring the report server for SharePoint. Make sure that you have selected the Enable this data source.
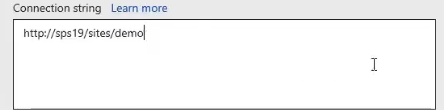
The connection string should be the site URL of SharePoint. Letter on, we will import list or library items from this site.
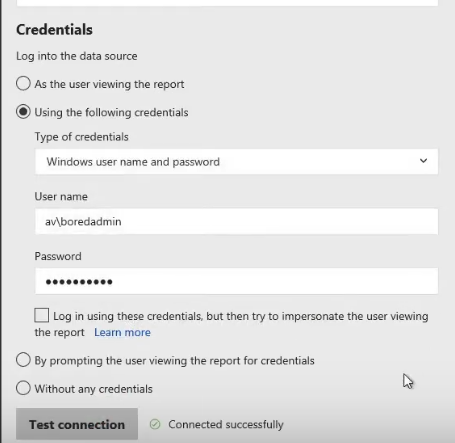
In the Credentials section, Select Windows user name and password for the credentials type. Provide your site admin (farm admin is proffered) credentials. And click on Test connection, Connected successfully message will appear. If you have a problem with authentication. check your user permission and roles in SharePoint. And click on Create.
SSRS data source for SharePoint is successfully created.
In the next step, we need to create a data set using the created data source. To create data set we need to install a Microsoft report builder.
You can download the report builder from this link.
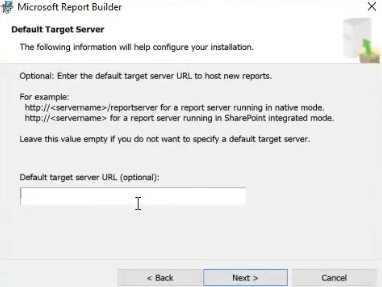
Installing Microsoft report builder is very easy. only one option you need to choose while installing. Default target server URL. You can provide the target server URL while installing or you can leave them blank, letter on we can provide the URL. I am leaving a blank in this setting.
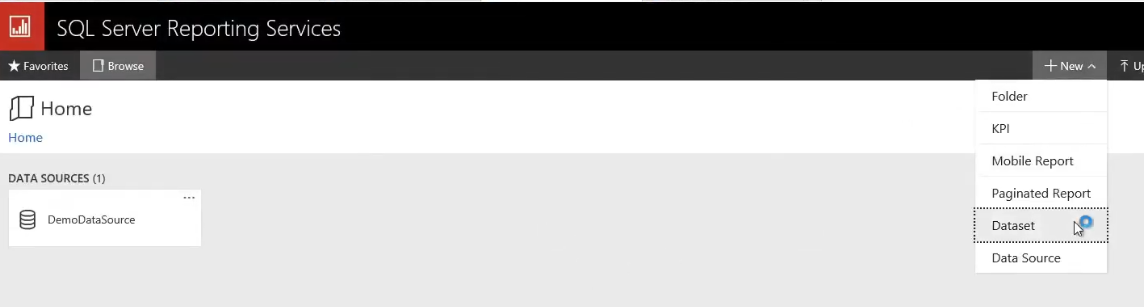
In this step, we will create SSRS Dataset from the created data source. And we already know that Data Source is connected with the SharePoint site. Click on new and Dataset.
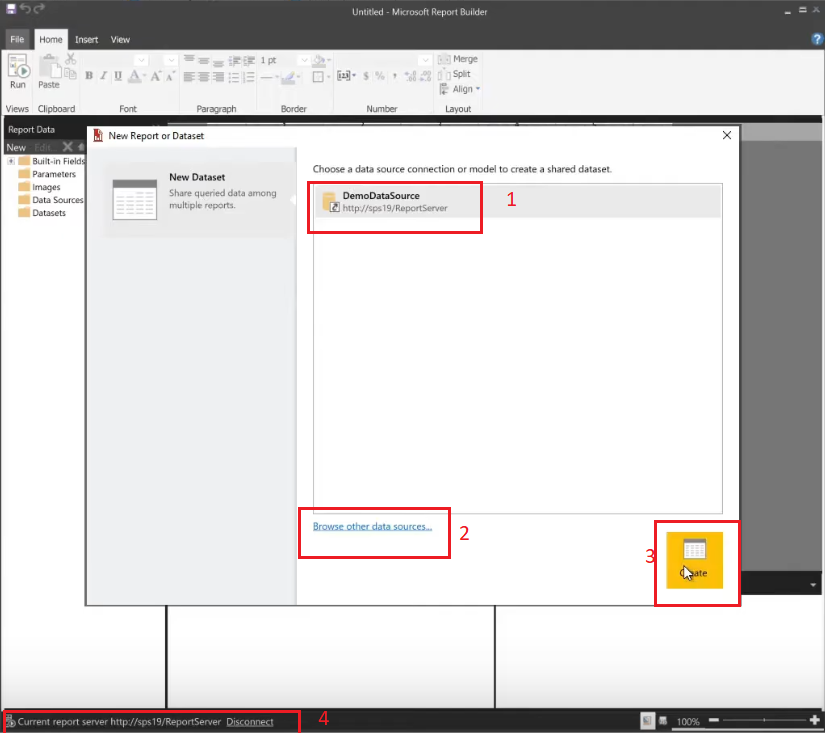
After selecting the new dataset, It will open the report builder application automatically and connect to the report server. If you are not connected to the report server URL, you can connect manually (4). And you can select the data source by browsing it (2). After selecting the data source, click on next.
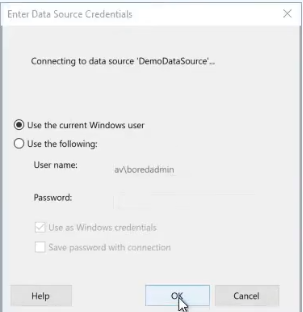
In this step, we need to provide the data source credentials. The credentials, which we created in the service account section. Select Use the current windows user if you have the same account. if you have a different user account then select the Use the following and provide the correct service account credentials. And click on ok.
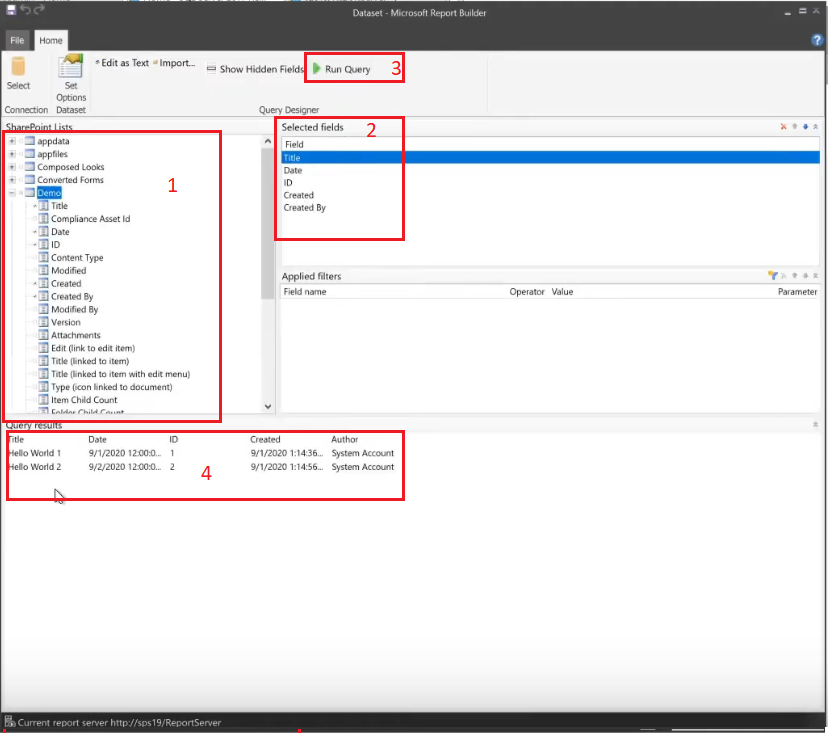
Now you are able to get the SharePoint site which we connected in the data source. Expand the required list or library and select/check items (1) within the SharePoint site. Selected items will populate in the right pane (2). Click on the Run query (3). you will find the values of the selected items after running the query (4).
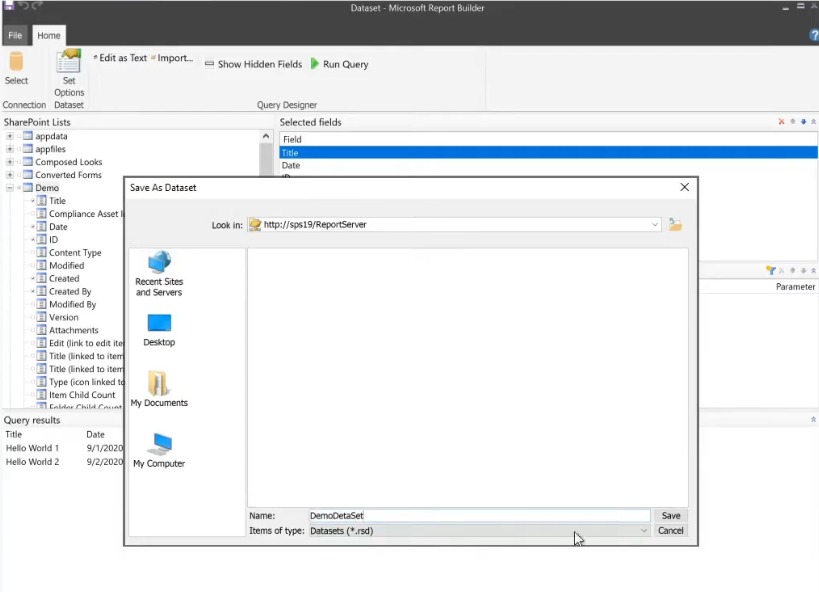
Save the data set in the report server. Extension must be the *.rsd.
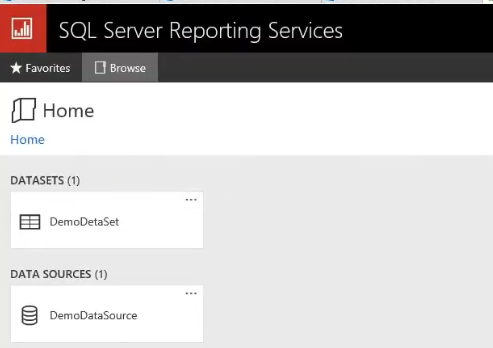
Now we have SharePoint data source and dataset in the SSRS (SQL server reporting service).
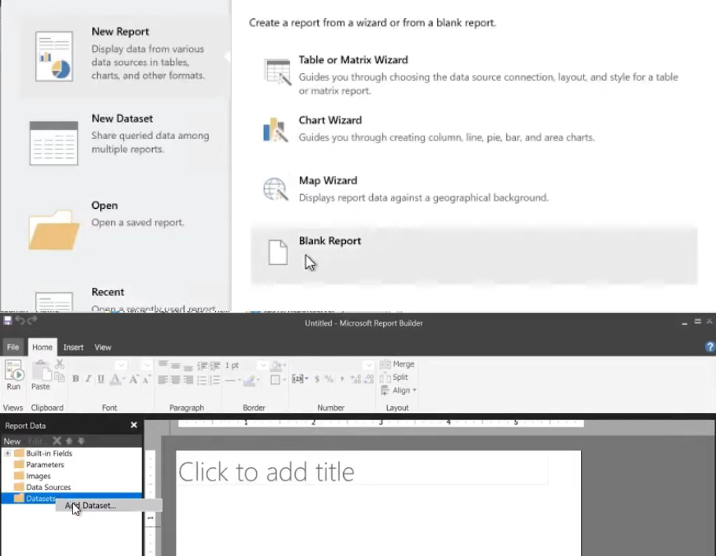
Lunch the Microsoft report builder from the start menu. Select a blank report. And add dataset from the dataset tab.
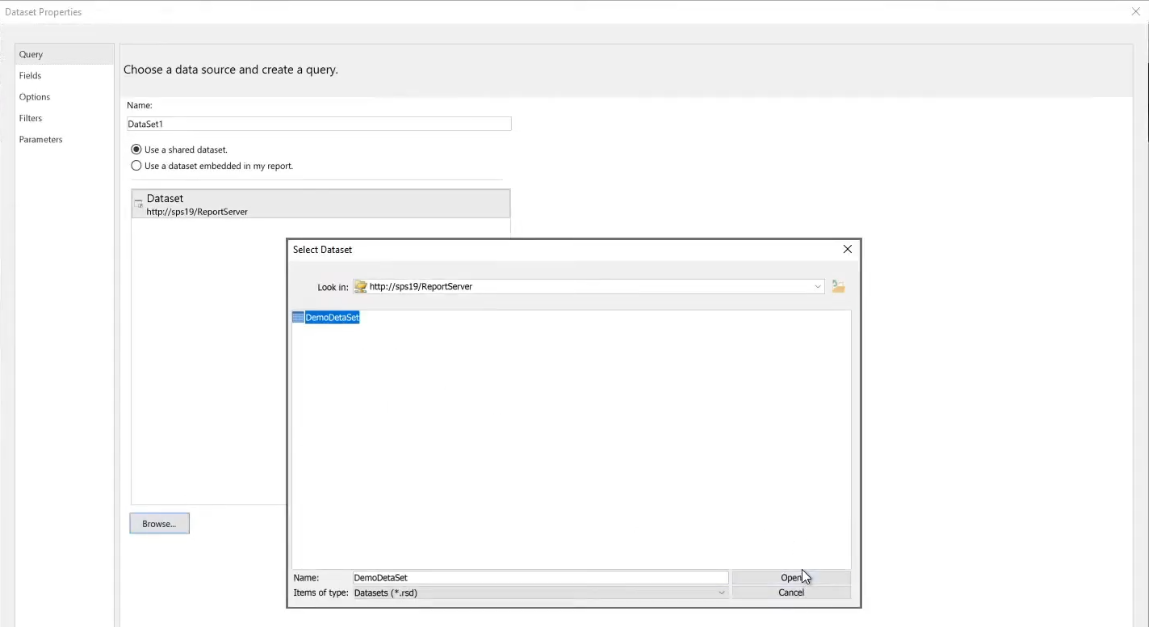
Browse and select the dataset which is saved in the report server. Click on open and ok.
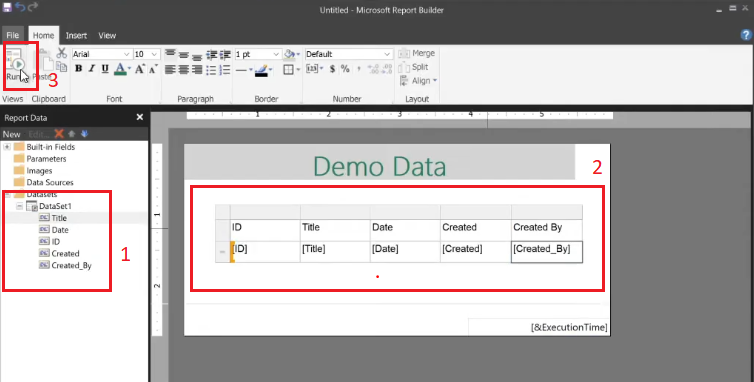
Here are the SharePoint list items, which we have selected while creating the dataset (1). Insert a table with the required row and column and place the items from the dataset field accordingly (2). Click on Run (3) to see the item values in the table.
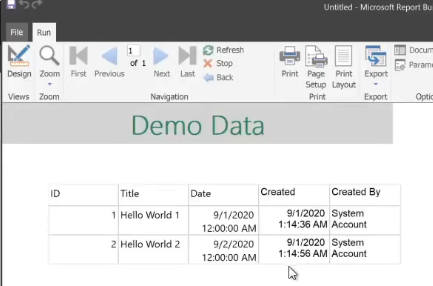
This is the sample item values in the table.
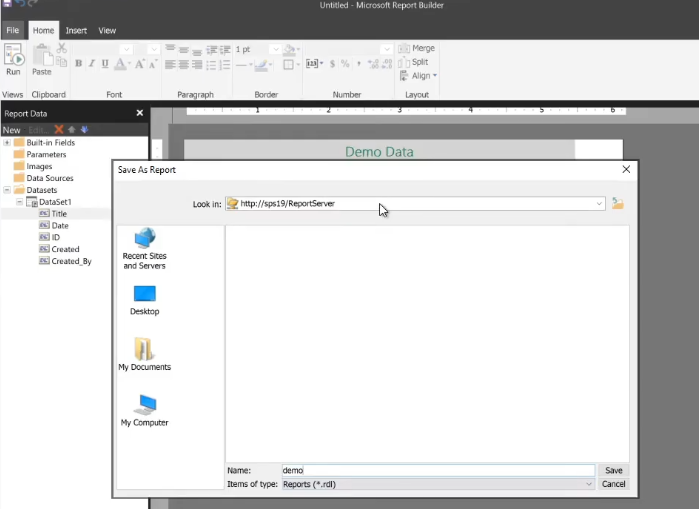
Save the configured report in the report server. Extension must be *.rdl.
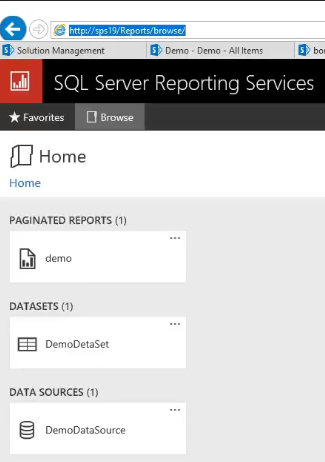
Now we have Data Source, Dataset and Report in the report server. Click on the report demo.
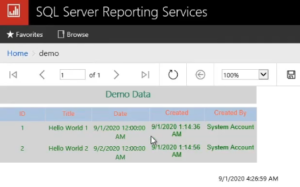
We have well-formatted 😀 and generated the SharePoint report in the SSRS.
In the next step, we will publish this report in SharePoint 2019 using the Report viewer web part.
SQL Server Reporting Service (SSRS) Integration with SharePoint 2019 Part 3.