
SSRS (SQL Server Reporting Service) integration on SharePoint 2019.
Part 1
Officially SSRS Integrated mode is deprecated in SQL Server 2017 and SharePoint 2019, Now It is not a part of the SQL Server 2017. However, organizations could continue to use SSRS versions 2017 in SharePoint 2019. This is not supported in SharePoint 2019, which means that integrated mode isn’t an option at all with SharePoint 2019.
But the good news is, there is some workaround to integrate SSRS 2017 with SharePoint 20149 using the report viewer web part.
This topic is divided into three parts.
The first part is to install and configure SSRS (SQL server reporting service) on the SQL server 2017.
The second part is, configure DataSource for the SharePoint, create Dataset from the DataSource, and generate and publish reports from the dataset.
And the second part is to deploying the report viewer web part as a farm solution in SharePoint and integrate with SSRS.
If you preferer step by step video guide, please follow the link below.
SQL server reporting service (SSRS) integration in SharePoint 2019 (SSRS Configuration).
The first step, download the SQL server 2017 reporting service and install it on the database server.
You can download it from here.
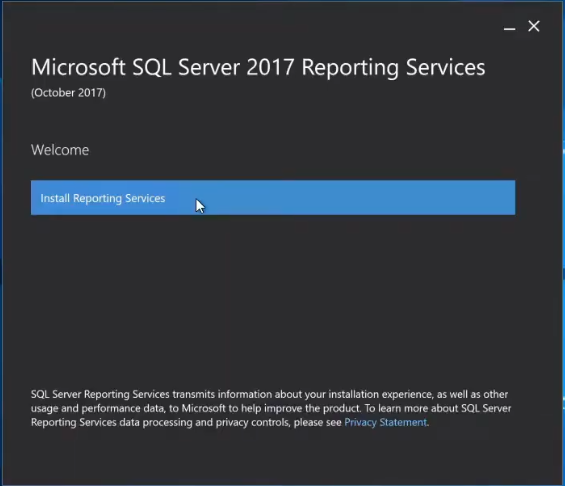
Click on Install Reporting Service. you will not see any other options. This is a reporting service component only for the SQL server 2017.
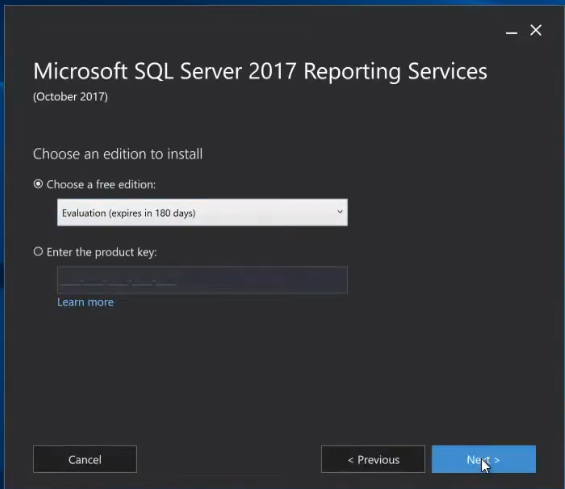
Choose an edition to install. Evaluation or product key. If you have purchased the SQL server you can use the same product key. I am continuing with the evaluation, it will work for 6 months (180 days).
In the next few windows, accept the license agreements and choose to install reporting services only. There are not many more options to select.
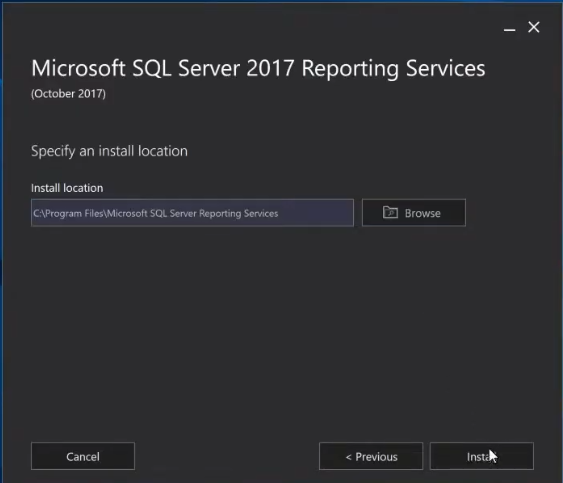
If you have a different installation location than the default location. You can define or select using the browse button. It will start the installation.
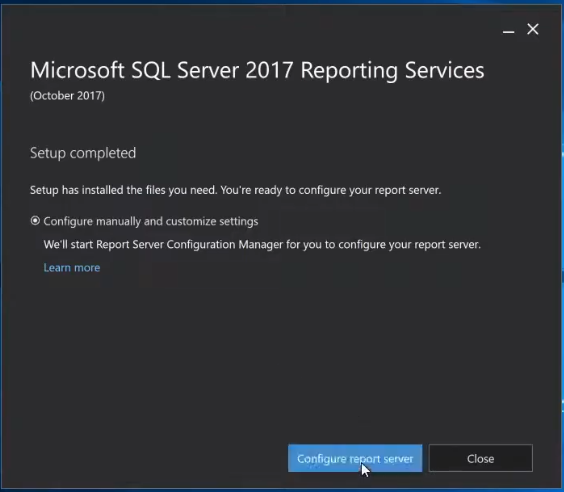
After the successful installation, click on the Configure report server. It will open the new windows to configure.
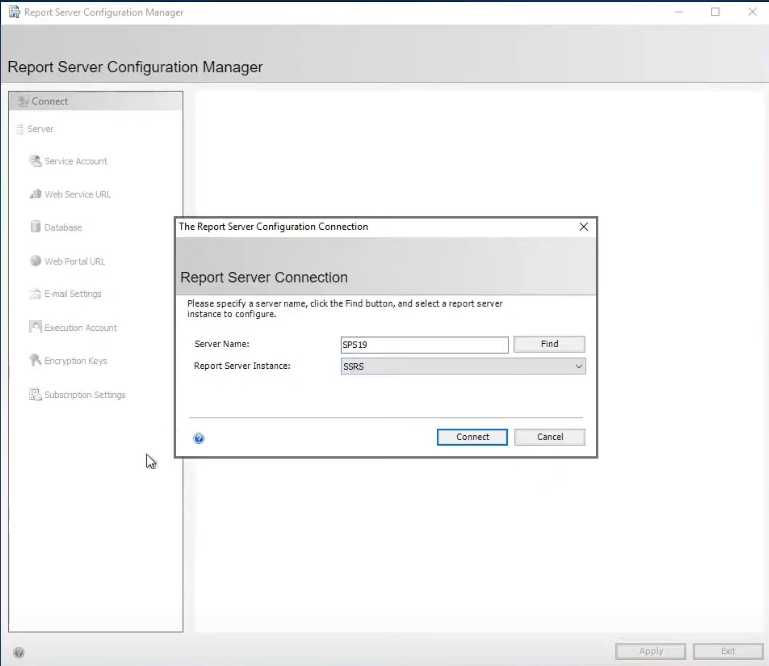
Click on connect to connect to the database server. In this case, the database server and SharePoint server are in the same machine. So, the server name is SPS19. The report server instance is SSRS which is the default instance.
In the next few steps, we need to configure the Service account, Web service URL, Database, and Web portal URL.

In the server node, you can see the service status of SSRS. It is started. if it is not, then start the service.
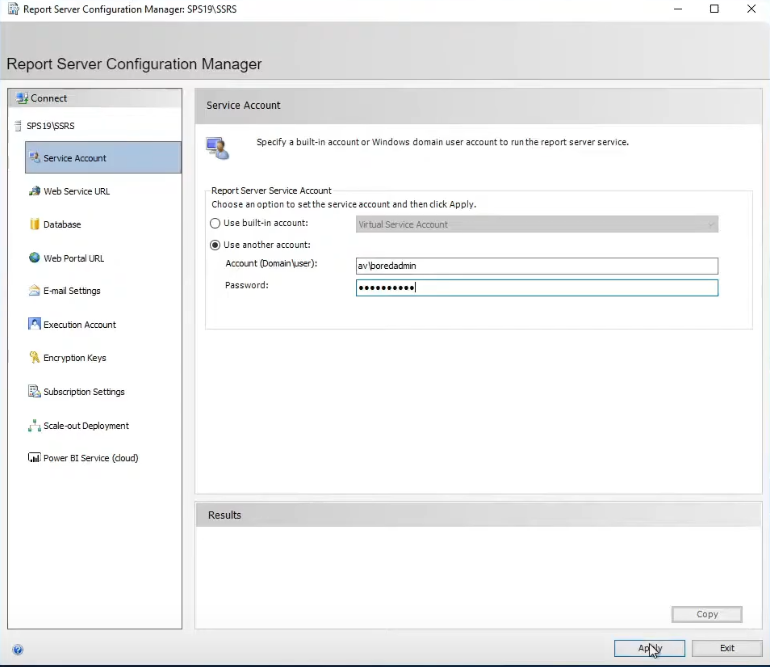
The default service account is a built-in Virtual Service Account. Select the second option, which is Use another account and enter the respective user credentials. The user should have respective permission in the database. And click on Apply.
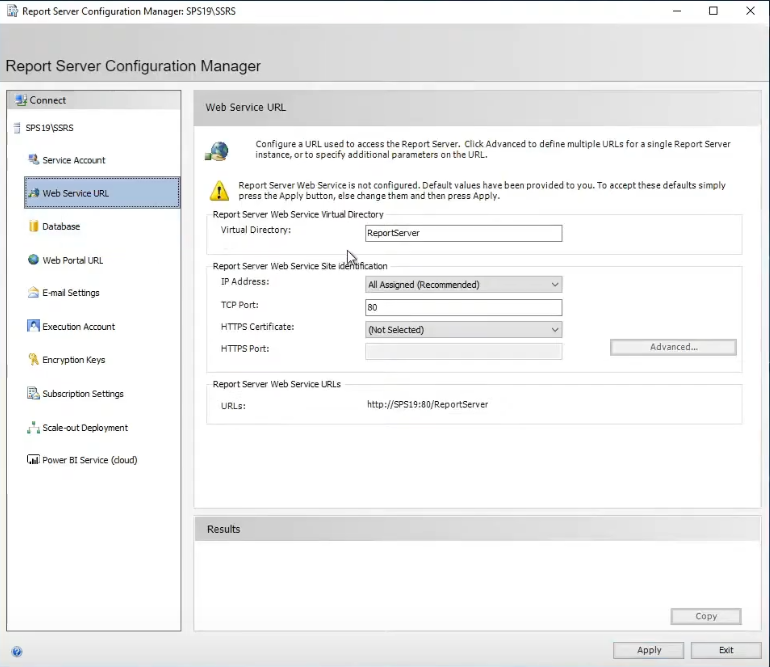
Those are the default configuration of the Web server URL. You can change the virtual directory if you preferer the other. I am continuing with the default directory and other configurations. If you want to use an SSL connection, select the HTTPS port 443 and HTTPS certificate. This demo configured on the HTTP port. And click on Apply. The report server web service URL is configured. You will not be able to access it until the database is configured.
Let’s configure the database.
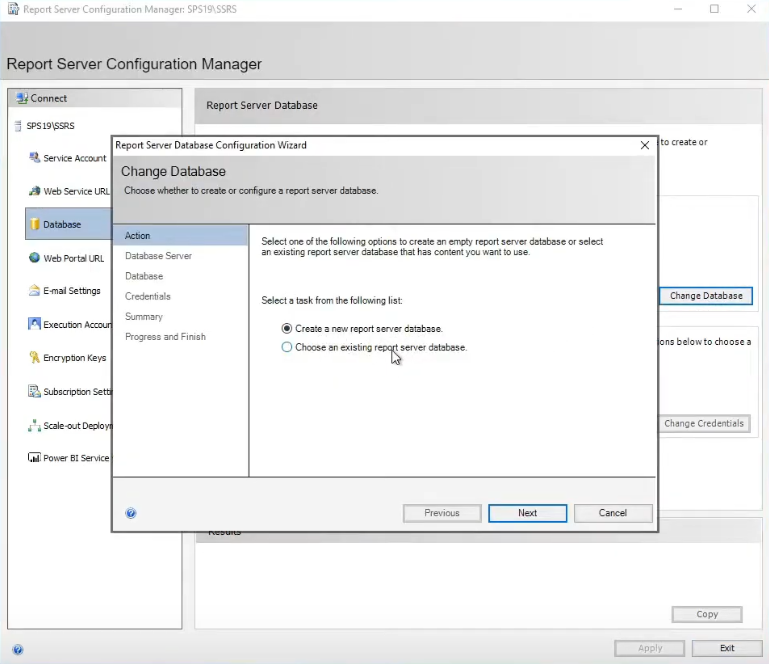
Select the database tab and click on the change database. new windows will open. In the action section, you can create a new database for the report or if you have already created the database you can select the database using Choose an existing report server database. I am creating a new database.
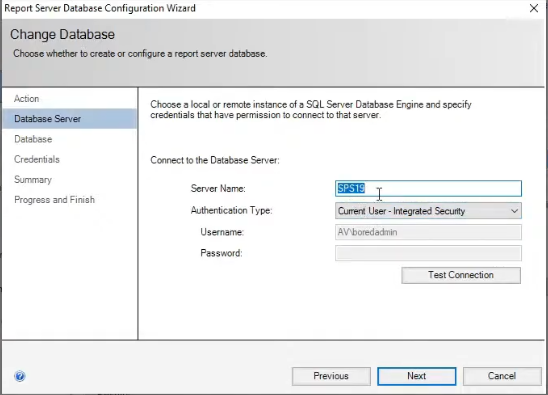
In the Database Server tab, Provide the database connection credentials and server name.
Select the windows authentication (Integrated Security) in Authentication Type. SharePoint works on this authentication type only. And click on Test Connection.

If everything or configuration is correct. you will see the Test Connection Succeeded in the test connection result.
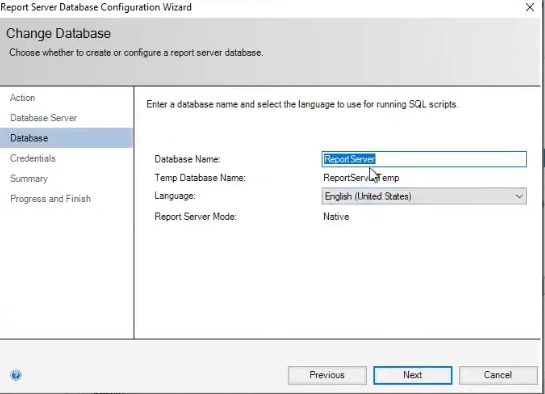
In the Database tab, Enter the database name, the default name is ReportServer. Temp database will auto created according to the database name. Select your preferred language. Report Server Mode should be native. Click on Next. It will navigate to the Credentials tab.
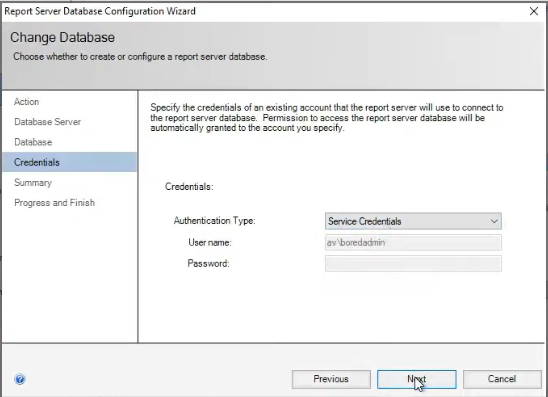
Authentication Type is Service Credentials. Username and password is the service account which we created in the service account section. Press the Next.
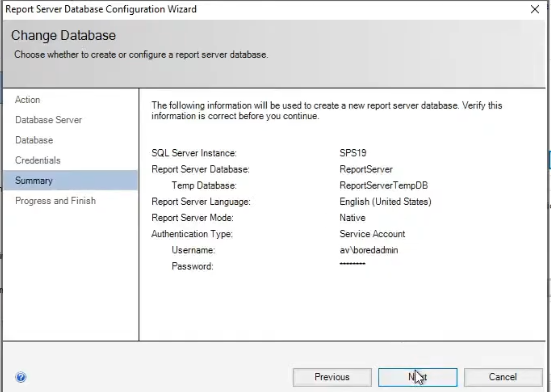
This is a Summary of the database configuration. Click on Next.
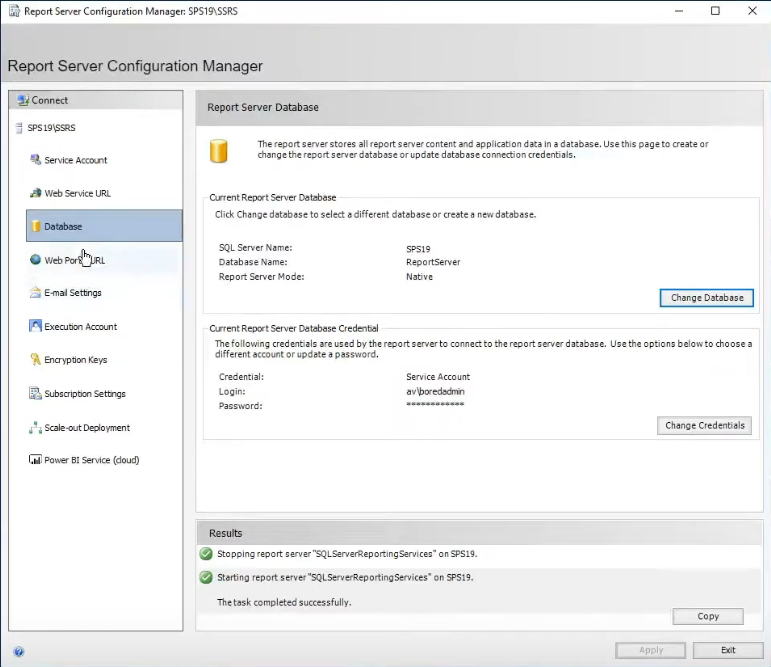
Finale status of the configured ssrs database.
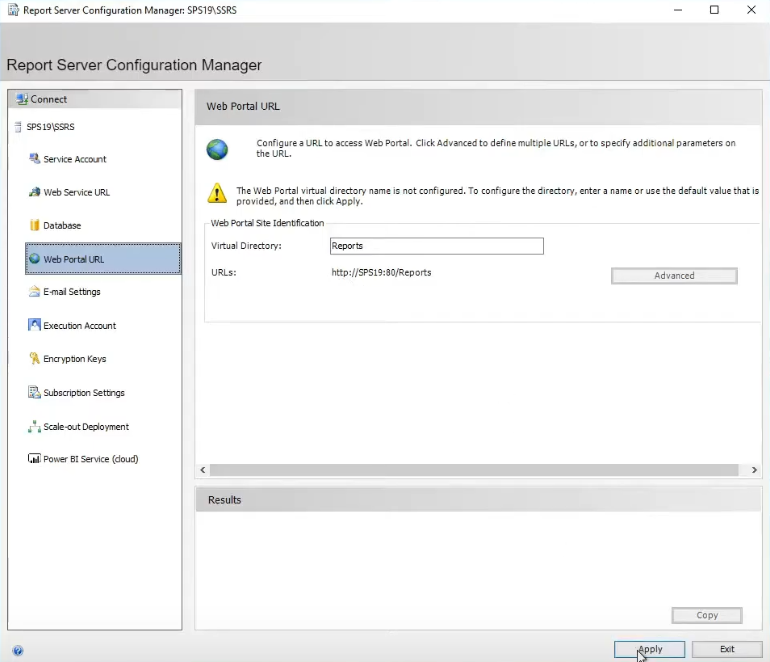
In the Web portal URL tab, the default Virtual directory is Reports. If you want different then default, you can change it from here. Click on apply, it will configure and create the web portal URL.
Now you can access the Web Service URL from http:// systemname OR IP/ReportServer and Web portal URL from http://systemaname OR IP/Reports.
SQL Server Reporting Service (SSRS) Integration with SharePoint 2019 Part 2.
@boredadmin we have a 3 server farm, reports work only in one server where reporting service is installed. 401 Not authorized error is shown in the other two servers. Do you know why this behavior?
Great Article, it was helpful. What about SQL server 2016 and SharePoint 2019? Cant find any documentation on this combination. Have you tried SSRS with SP 2019 and SQLRS 2016 ?