
OPNSense OpenVPN configuration and authenticate the AD (Active Directory) users using LDAP.
OPNSense is a free, open-source, powerful, easy to use, and easy to build firewall and routing system based on the HardenedBSD platform.
On the other hand, OpenVPN is also a free and powerful VPN application. It provides flexible VPN solutions for businesses to secure all data communications and extend private network services while maintaining security.
The configuration is divided into 5 sections
1- Configure user accounts and groups in the activate directory. And Install and configure the AD LDS for the LDAP connections.
2- Create and configure the LDAP connection in the OPNSense.
3- Configure Internal CA (Certificate Authority) in OPNSense, and Issue or create the certificate.
4- Configure the OpenVPN server and export the client configuration file.
5- Install and configure OpenVPN in the client system.
Let’s jump to the configuration and make it happen
1- Configure the user accounts and groups in the active directory, And install and configure the AD LDS for the LDAP connections.
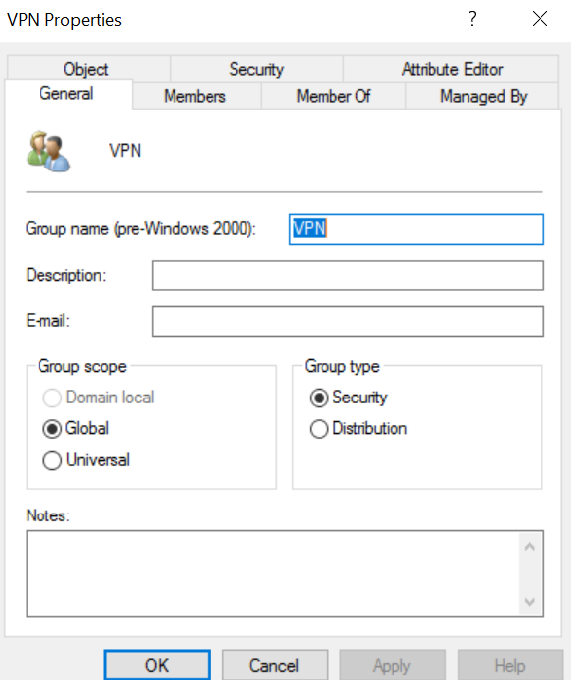
Login to your active directory domain controller with respective permission. Open the active directory users and computers. Create a Group and make sure scope is global and type is security.
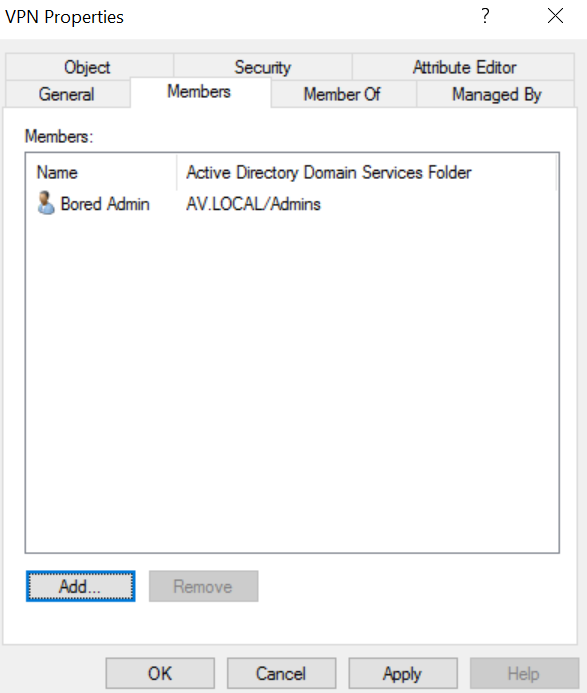
Add users to the member of this VPN group. The users, who are going to connect the VPN.
The next step in this section, Install AD LDS (Active directory lightweight directory services) to provide the LDAP connection for the OPNSense. And configure it.
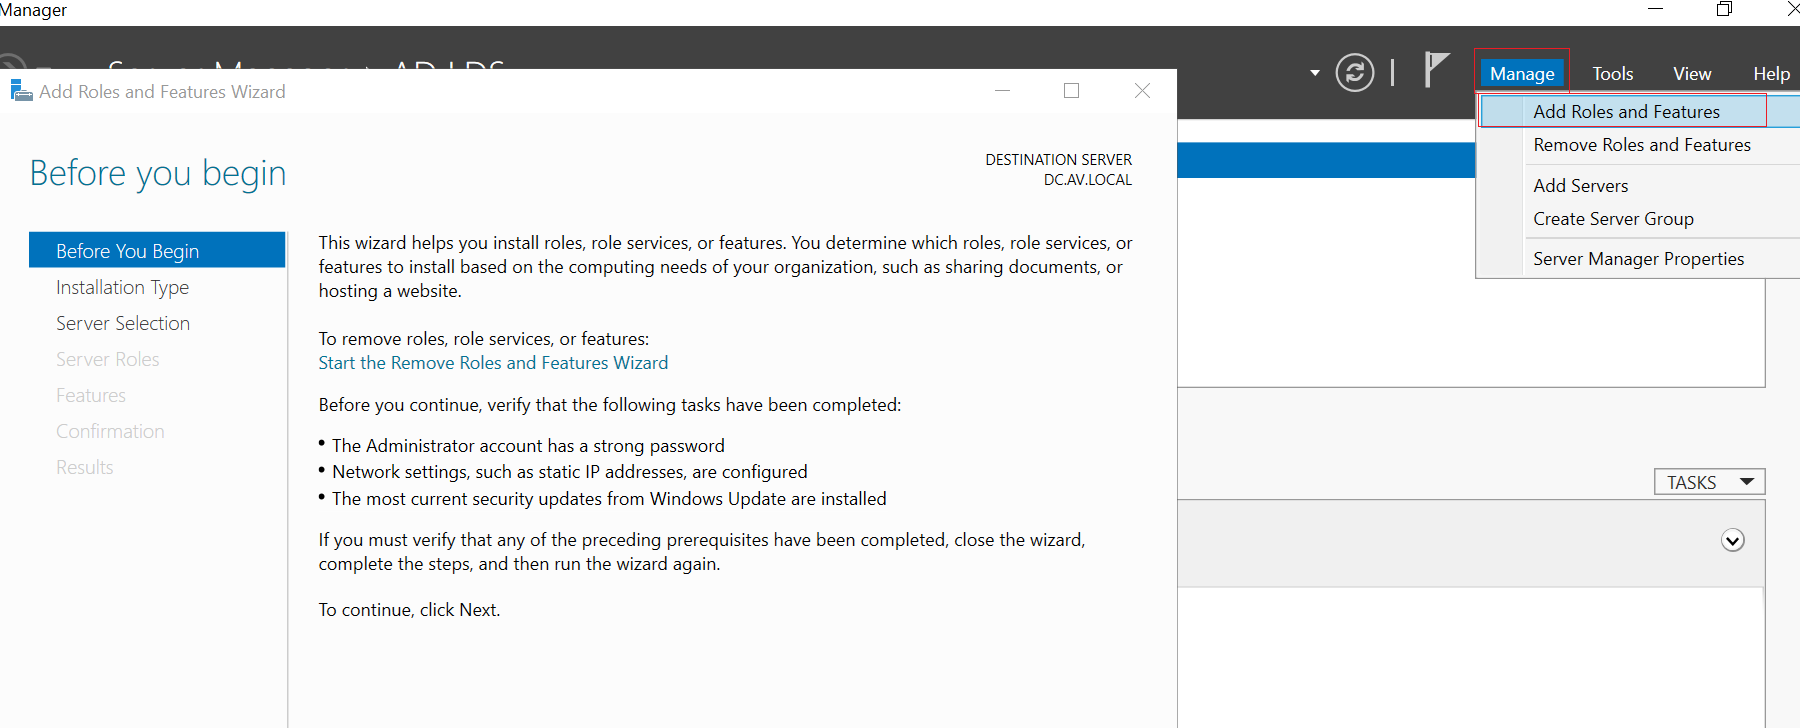
Select the type of installation as roles-based or feature-based installation. In the server selection section, make sure that you have selected the correct server name if there are many. Select the Active Directory Lightweight Directory Services on the server roles section.

Keep default roles and features in the rest of sections, confirm the summery and install it.
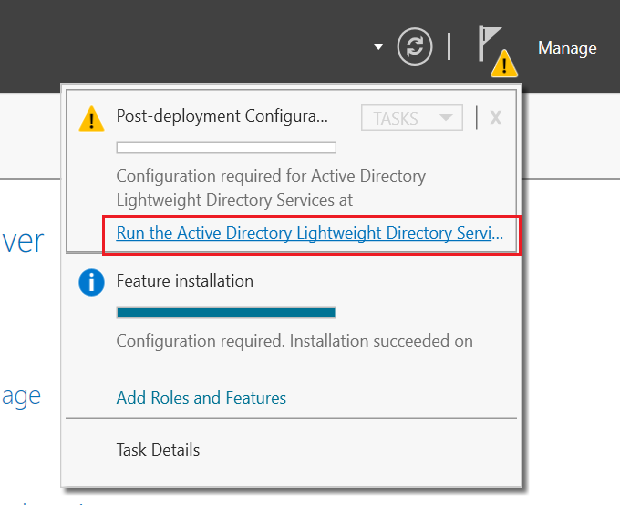
After the successful installation, Run the Post deployment configuration.
It will open the Active directory lightweight directory services setup wizard. Click on next, it will navigate you to the setup options page. Select A unique Instance, which is default selected. In the Instance Name section, you can define the instance name and description or leave it to the default. In the Ports section, there are two ports for the LDAP connection. 389 for the non-secure connection and 636 for the secure connection. Keep in mind that, you need to issue some certificates for the secure connection if you want to secure the connection. And don’t forget to make firewall rules to allow connection to these ports from the OPNSense or LDAP client if you have installed any firewall or default windows firewall is enabled in the system.
In the Application Directory Partition, Select No, do not create an application directory partition. File locations, Leave it to the defaults unless you want to keep files in a different directory. Service account selection, select your appropriate service account. In most cases, the Network Service account is fine. Or you can specify the different accounts.
AD LDS Administrator section, you can see the current logged in user. If you are not happy with the current user, Enter a different username in the This account section. Leave default setting in the import LDEIF files section.
The image below is the summary of the selected roles and features.
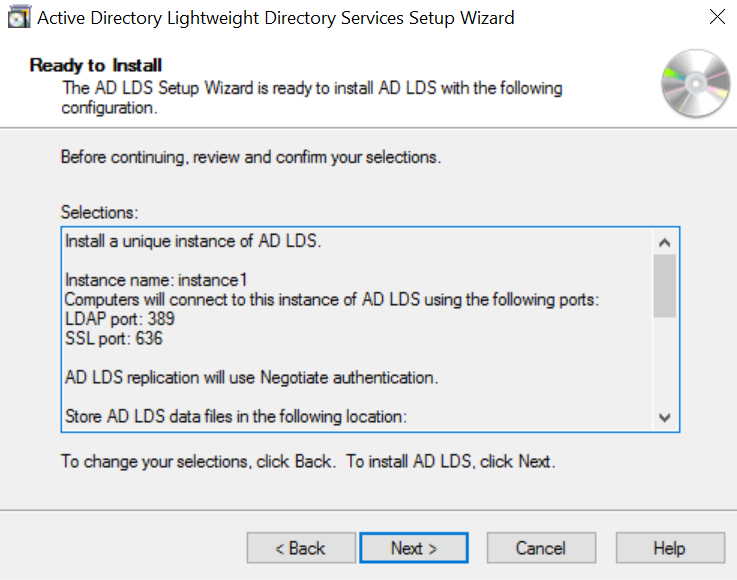
Click on Next, it will install and configure the AD LDS for the LDAP connection.
We have finished the Active directory domain controller configuration.
2- Create and configure the LDAP connection in the OPNSense.
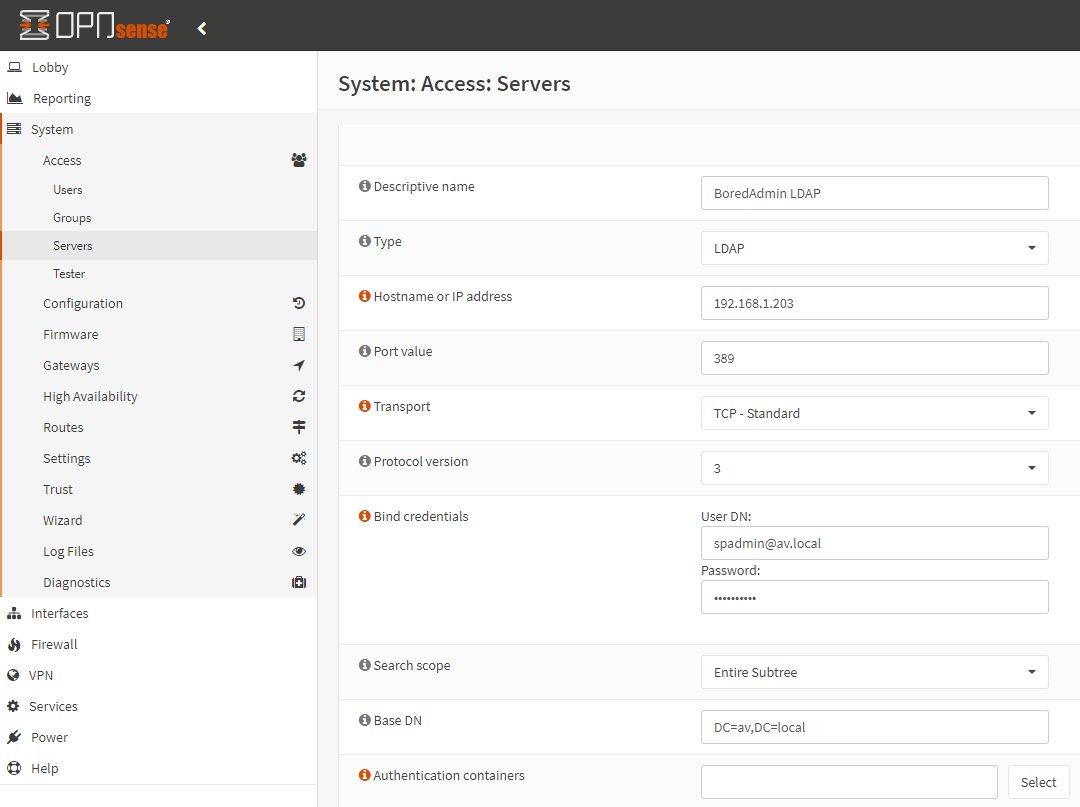
Login to the OPNSense with authenticated user credentials. Expand the System menu and select the Servers and click on the ADD button on the right corner of the page.

Specify the Descriptive name for the LDAP connection. The Type should be LDAP. Provide your Active Directory domain controller hostname or IP address in the Hostname or IP address section. Port Value is 389 which is non-secure. The transport protocol is TCP-Standard. Protocol version 3 is the default. Bind credentials with your AD user account and password. Enter the account name in email format. In the Search scope select Entire Subtree, if you have only one container or OU, leave it to the One Level. Base DN should be your domain in FQDN format.
After providing the required information, click on select and it will populate the OU and Container from the AD (Active Directory). Select the required OU or containers and close. Keep in mind that VPN group OU or container must be selected.
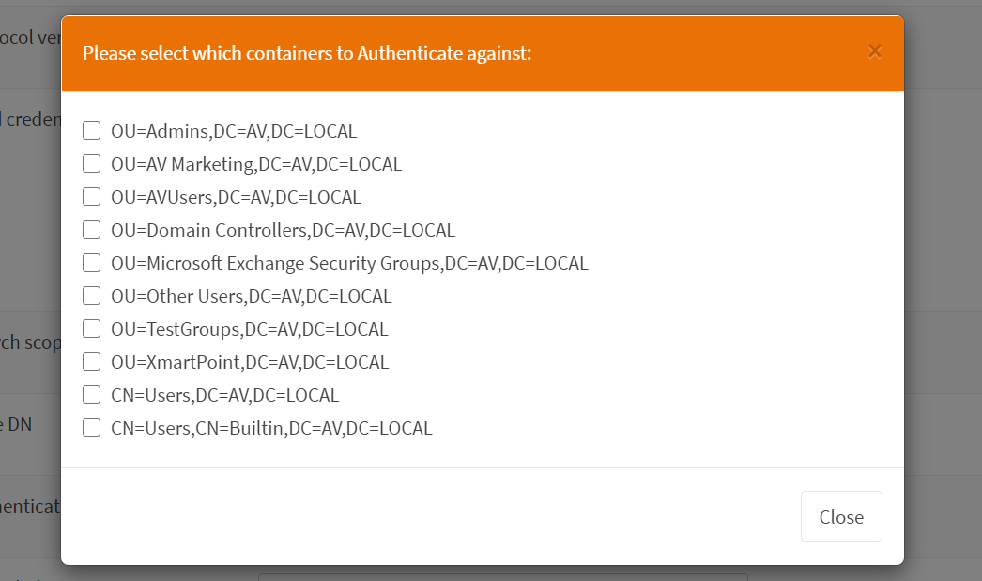
After closing the select container pop up, provide the rest of the information.
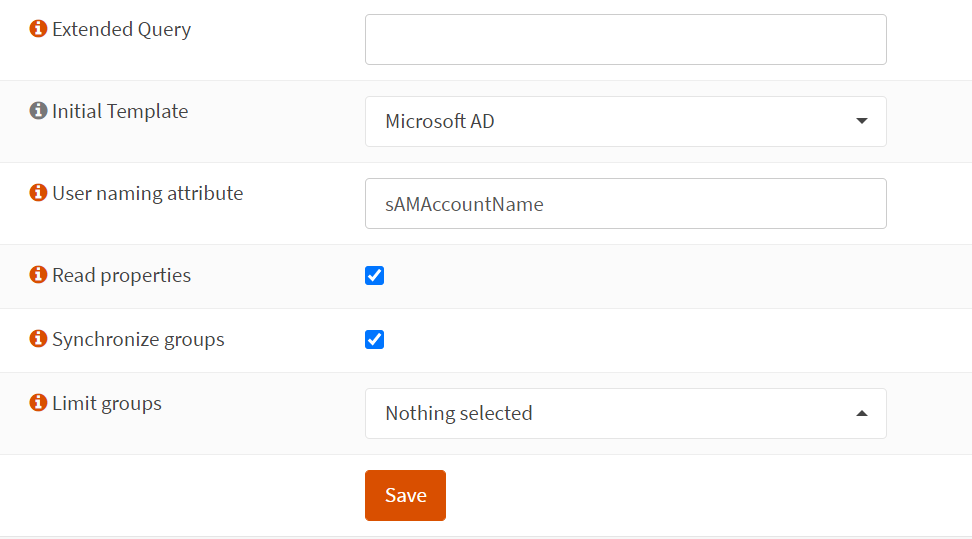
Select Microsoft AD in Initial Template. User naming attribute should be sAMAccountName, change it if you have different. Check for the Read properties and Synchronize groups and save it.
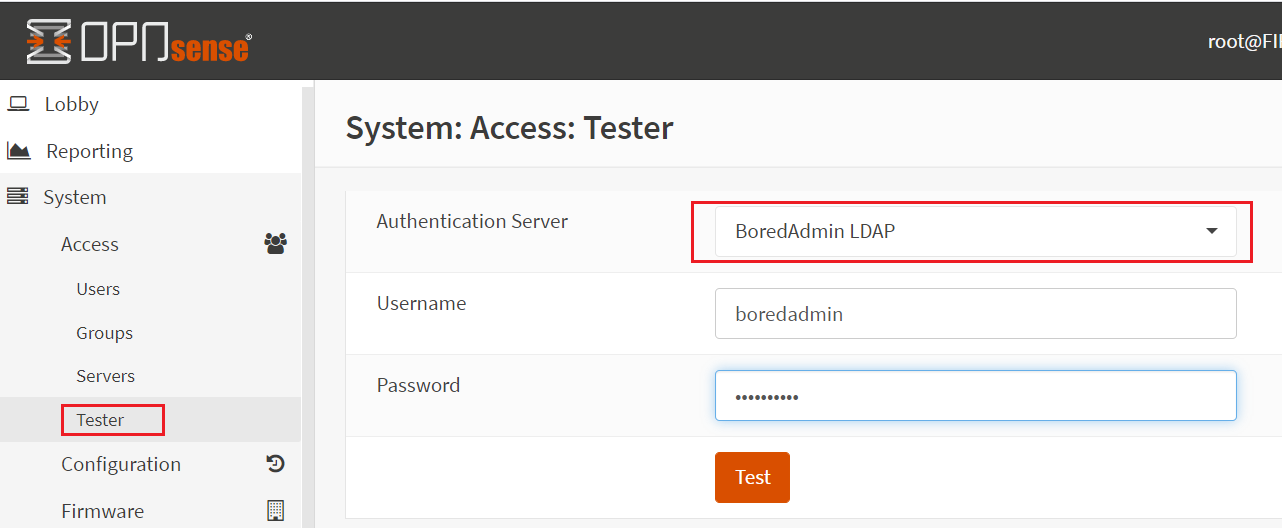
After finishing the server configuration, select the Tester in the System category. Select your newly created authentication server in the Authentication Server drop-down. Enter username without a domain name or email format and provide the password and click on Test.
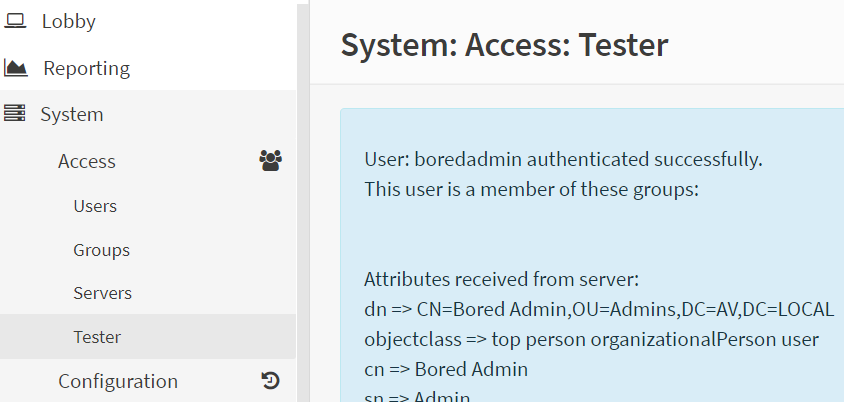
If everything is fine or you have configured the correct configuration you will see the success message in the image as below.
Please continue to second part
OPNSense OpenVPN configuration and authenticate the AD (Active Directory) users using LDAP. Part 2.
Thanks for the first part
You can mess around with the read properties/synchronize and lock yourself out of opnsense if you’re not careful. If you use best practices and disable the root account, then you’re in real trouble.